
Recently I came across a website called todomvc.com. It is a website designed to help you select a mvc framework (mvc = model-view-controller). A mvc framework makes it easier to develop client-side web applications.
This off course piqued my interest as my opensource project Reken's main design goal is to do exactly that. The todomvc uses a reference web UI to compare the different implementations. They provide a fully styled html Todo application, but it is not functional. The functionality is supposed to be provided by a framework.
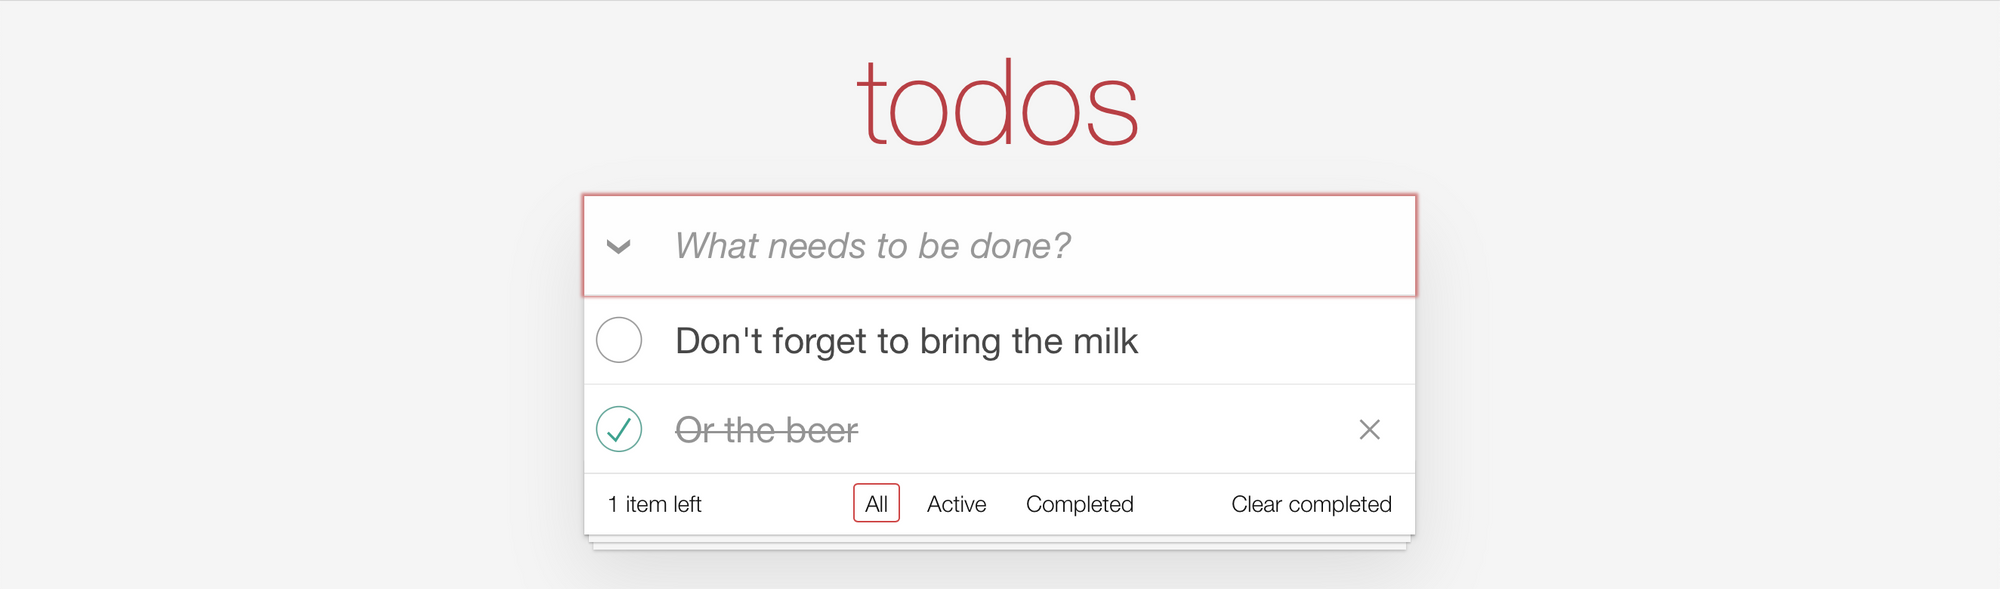
And the Todo application has quite some functionality. A user should be able to created, edit, delete and mark a todo item completed. It should also list all the todos, or filter just the uncompleted ones (with a counter) or the completed ones. The latter with an option to delete all completed todos. The UI should also dynamically adapt if there are no todo's at all, or the delete completed todos button should be disabled if there aren't any. The UI should also persist its state (todos / active filter) and when the user revisits the app should reinstate the todos and filter. The filters should also be reflected by the url ie it needs to be routed.
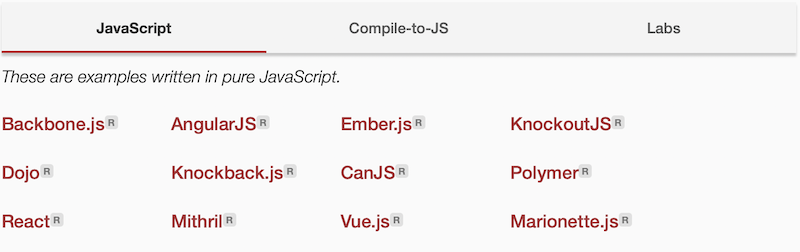
On the todomvc website you can find a number of implementations from the various frameworks such as React, Vue, Backbone, Ember, Backbone, Knockout and many others. Did not know there were that many frameworks. There also a few vanilla js and a Jquery implementations.
Naturally my fingers itched to get me hands dirty with a Reken implementation. And within an hour had most of it working. There were a couple usecases I had not covered with Reken yet:
- Multiple data-driven classes per element
- The ability to bind a variable to an input and also register a change event
- Data-driven focus management
- Routing
All of these usecases made sense and therefor added them to Reken. With that I was able to complete all the required functionality. When I was ready to issue a pull request for the Reken implementation on their repo, I was disappointed. It turned out there were requirements before you were allowed to submit a pull request. The major blocker was needing more than 5,000 github stars. :-( Nowhere close to that.
Anyway was still pretty pleased with the implementation. Here a link with the Reken based TodoMVC application hosted.
I'll now go through the different parts of the UI and explain how it is implemented with Reken.
First the header and in the input control to enter new todos
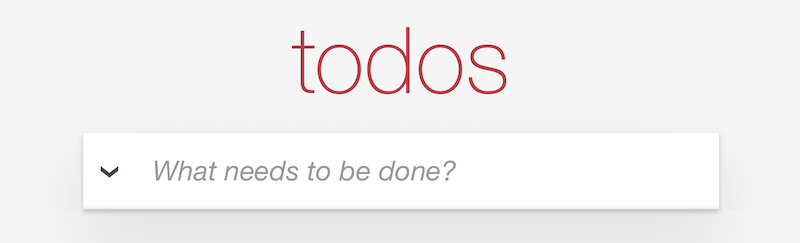
<h1>todos</h1>
<input class="new-todo"
  data-value="newTask"
  data-on-change="newTask = addTask(state.tasks,
                  newTask);saveState(state);"
  data-calc="if (editTask== -1 && elem != document.activeElement)
             elem.focus()"
  placeholder="What needs to be done?"
  autofocus
>The data-value attribute binds the input control to the newTask variable.
The data-on-change attribute has the code to excute when the value changes. It adds the new todo to the state.tasks array. It also saves the state across sessions with saveState(state).
With the data-calc attribute we set the focus on the input control if no other item is being edited and if it not already has focus.
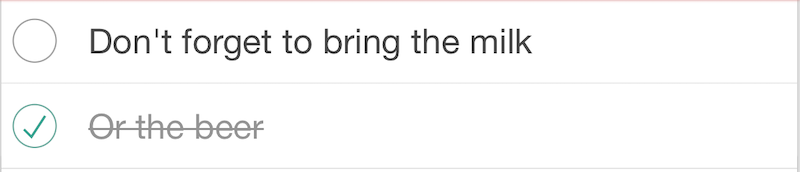
Next the list of todos. There is a lot going on here. First a checkbox to mark tasks finished. Then the label for the task. When the label is double-clicked it brings up the input control to edit the label. When hovering a task a delete icon appears to delete the task.
<ul class="todo-list" data-for="task:filters[currentFilter]()">
  <li data-class = "editing:editTask == task.index;
                    completed:task.item.completed">
	<div class="view">
	  <input class="toggle" type="checkbox" data-value=
             "task.item.completed" data-on-change="saveState(state)">
      <label data-on-dblclick="editTask = task.index"
             data-text="${task.item.title}">
      </label>
	  <button class="destroy"
              data-action="deleteTask(state.tasks, task.item);
                           saveState(state)">
      </button>
	</div>
	<input type="text" class="edit"
           data-value="task.item.title"
           data-calc="if (editTask === task.index) {
                        const end = elem.value.length;
                        elem.setSelectionRange(end, end);
                        elem.focus()};"
           data-on-change="updateTask(state.tasks, task.item);
                           saveState(state);
                           editTask=-1"
           data-on-focusout="if (editTask>=0) {
                               updateTask(state.tasks, task.item);
                               saveState(state);
                               editTask=-1}">
    </li>
</ul>
The ul data-for attribute loops over the list of tasks. Depending on the value of currentFilter all task, unfinished tasks and finished tasks. For each item it populates the task variable.
The li data-class attribute sets the editing class when the current task is being edited. It also set the completed class when the task is completed.
The input checkbox attribute ata-value binds the checkbox to task property task.item.completed. The data-on-change attribute makes sure the state gets saved.
The label attribute data-on-dblclick gets the task in edit mode by seting the editTask variable to the task index. With the data-text attribute we set the task title on the label.
The button's data-actionattribute deletes the task when clicked.
With the input text attribute data-value we are editing the task's title task.item.title. The data-calc attribute ensure the focus is on the input control and the cursor is at the end of the input. Both the data-on-change and the data-on-focusout ensure the task is updated and the state is saved.
The footer component shows the number of uncompleted task. The 3 different filters All, Active and Completed will filter the task list. The Clear completed delete all completed tasks.

<footer class="footer" data-if="state.tasks.length>0">
  <span class="todo-count"
        data-html="<strong>${activeCount}</strong>
                   item${activeCount==1?'':'s'} left">
  </span>
  <ul class="filters">
    <li>
      <a data-class="selected:currentFilter==''" href="#/">All</a>
    </li>
    <li>
      <a data-class="selected:currentFilter=='active'"
         href="#/active">Active</a>
    </li>
    <li>
      <a data-class="selected:currentFilter=='completed'"
         href="#/completed">Completed</a>
    </li>
  </ul>
  <button class="clear-completed"
          data-if="state.tasks.some(task => task.completed)"
          data-action="state.tasks = deleteCompletedTasks(state.tasks);
                       saveState(state);">Clear completed
  </button>
</footer>
The footer attribute data-if only shows the toolbar when there are tasks. The span's data-html attribute displays the number of open tasks.
The filter li a attribute data-class sets the selected class on the element to show which filter is active.
And last the button's data-if only shows this button when there are completed tasks. The data-action attribute deletes the completed tasks and saves the state.
That was basically the application. Oh and one more thing there is a data-route attribute on the body element with the route /#currentFilter.
<body data-route="/#currentFilter">This changes the currentFilter variable based on the hash of the url as set by the filter links.