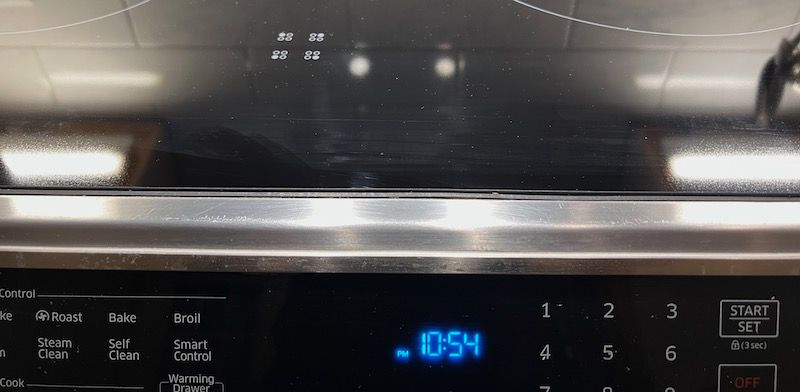
More than a year ago I had dropped a bowl on the edge of our almost new Samsung induction range. It hit the edge of the top and there was a tiny blemish. Unfortunately shortly after two large cracks spidered across the top and it was time to get it replaced.
I found a replacement top at a website called Applicance parts 365. It wasn't cheap $298 and with shipping was $319 total. About 10% of the new price of the range.
Before ordering I did some research and found some resources on how to replace the induction stove, which made me confident I could do the repair myself.
After the top arrived I was sitting on it for more than a year, but during the Christmas break finally build up the courage to do the repair. I found a great video that showed the replacement process step by step.
I had thought it was going to be a problem to move the range from its position to get access to the rear panel. But it just rolled out of its place.
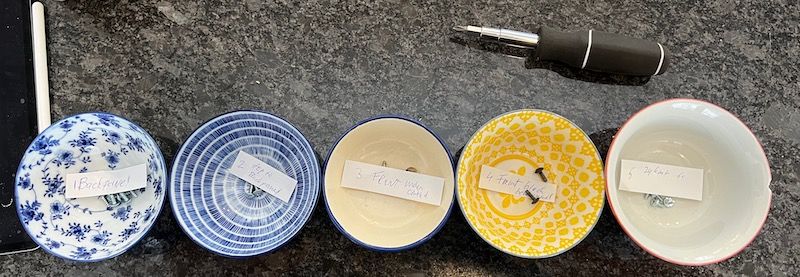
There were lots of screws of to take out and came of up with a system to keep them together and in the right order by using little bowls (pay back) and a little note indicating the order in which I got them out.
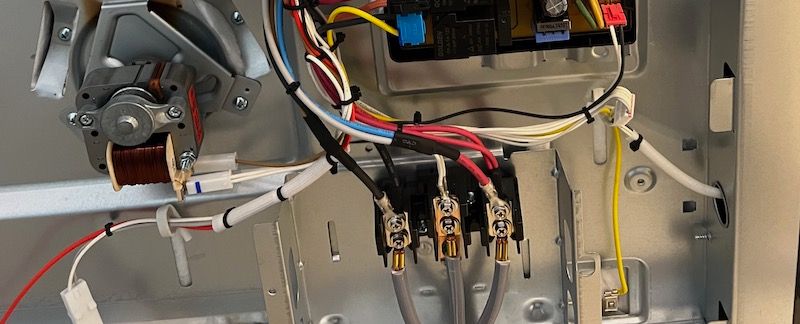
After 5 bowls with various and 2 unexpected additional screws to release andextra cable (which was not on the video) the old top was lose.
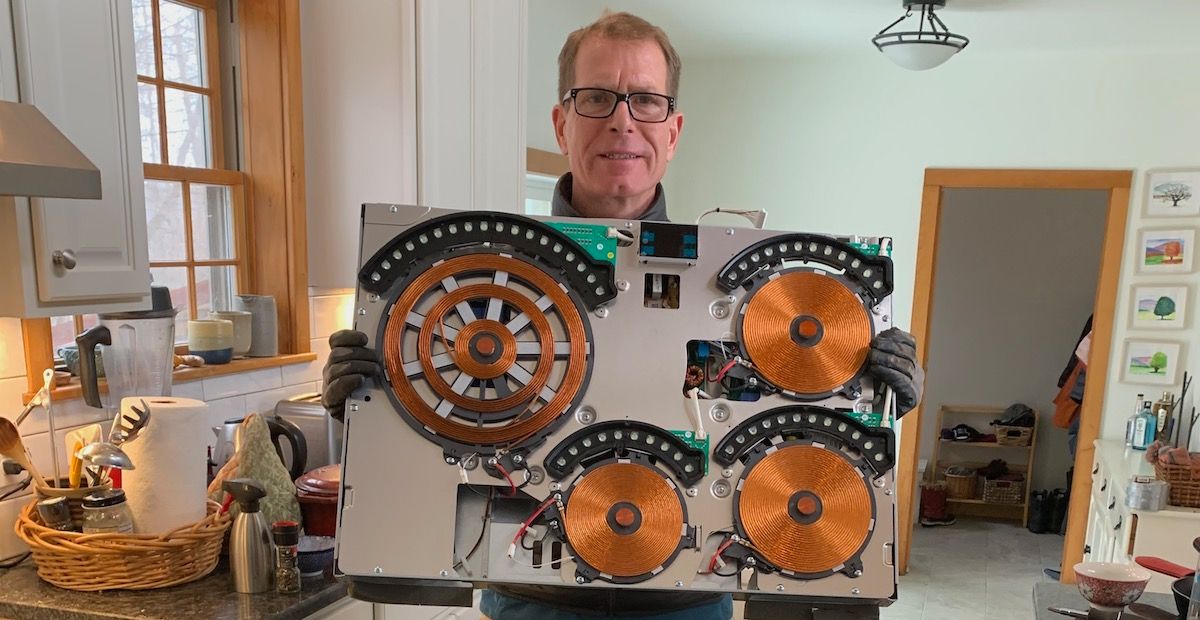
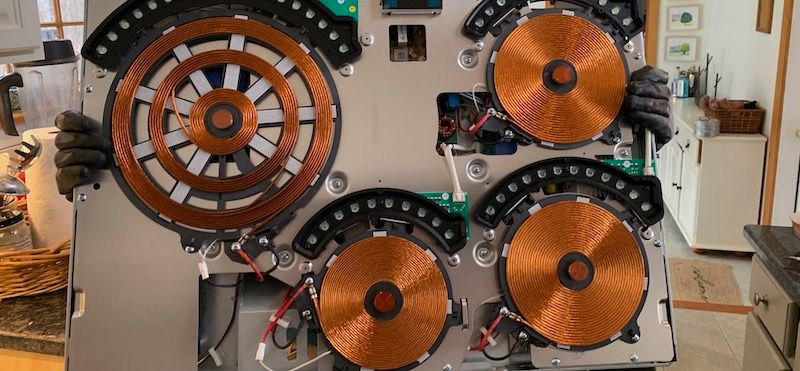
I could now lift the top of the range. The magnetic coils looked pretty impressive.
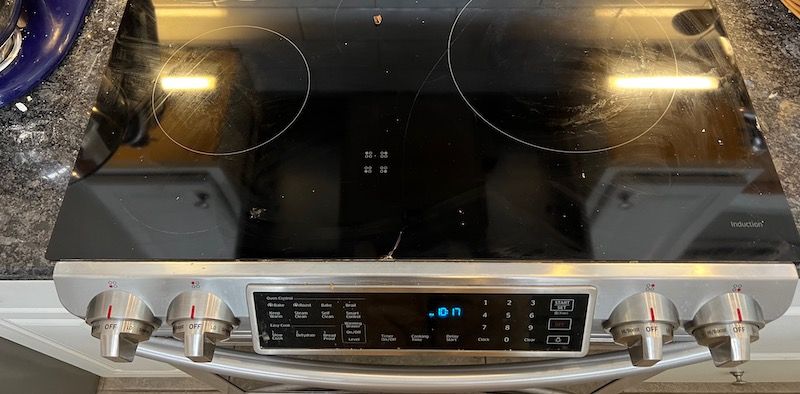
It was now time to install the new top and reverse the process. By going along the bowls and reinstalling all the screws I had taking out. This went much faster and soon I had everything back in place. Before I pushed the range back, I double checked if it was working by switching the breaker back on. It did, the control lights came on.
But when I pushed back the range there was a small 1 inch gap between the stove and the wall. First I thought it was the thick 380v power cable blocking the stove. After double checking it turned out there was an extra extension piece at the back that I also needed to transfer. It was not discussed in the video but I already knew it was a different Samsung model.
Once I had added the plate extension the range fitted like a glove again. Overall the replacement process took about 2 hours. Not bad.