
I bought my Orucase Airport Ninja bike case in 2016. The Airport Ninja is a bike travel bag that does not look like a bike bag. Since I bought the case I have yet to pay for taking my bike on a flight (Update last trip Oct 2021 back from Holland: KLM charged me 125 Euro). The size of the case matches most airlines checked bag dimensions. Although the dimensions are a layed out differently.
I have used the case on my travels to Japan, The Netherlands, France and Italy. I also had some of friends successfully transport their bikes to Ireland and Italy.
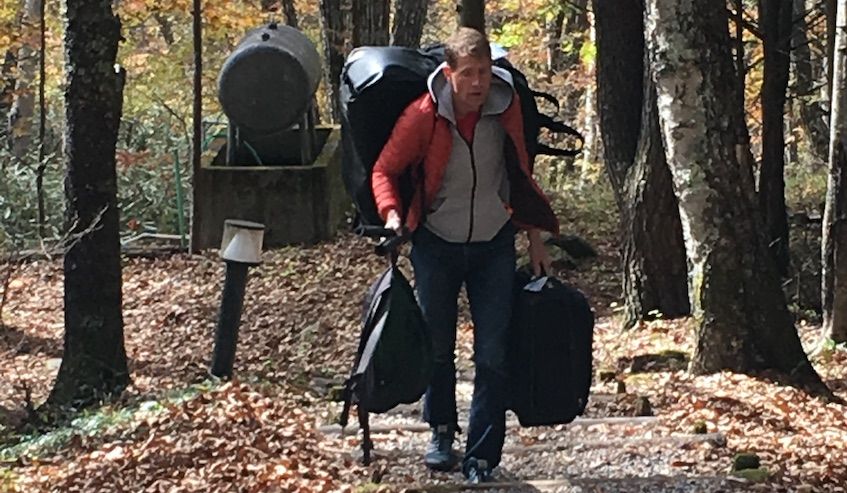
Overall I love the case. My only peeve with it is, is carrying it around. It has a handle to lift which works fine when taking from you car to a luggage carrier. For longer distances it has straps to wear it like a backpack. However besides you looking like a Ninja turtle it is also very uncomfortable as the straps cut into your shoulders and the hub of the wheel pokes in your back. I remember on the trip to Japan running with it strapped on my back for 3oo meters to get to the right entrance door of the bullet train in Tokyo. It was torture.
I thought if only it had a set of wheels like a carry-on. Recently looking at the Orucase website turns out their latest model bike case has exactly that. The Orucase B2 has a set of wheels, exactly the way I had imagined it.
So what to do? Upgrade to the new case? It costs $599 vs the Airport Ninja $499 (I paid $400 in 2016). I decided to find a solution that worked with my current Orucase. I started looking around at Amazon for external wheels and carriers. These were not expensive, but most did not look very sturdy and the problem was you now had this extra thing you needed to checkin / carryon.
So then I decided to attach wheels to my orucase. I bought a set of skateboard wheels for $25 and then cut two plywood boards about 7" wide and about 10" long. I attached one set of the roller blade wheels with the axis to one of the boards. Then on the bottom rounded corner of the Orucase put one of the boards inside and the other with the skateboard wheels attached to outside and bolted them thru the thick vinyl bottom of the Orucase tightly together.
I placed the boards and wheels such that if the Oracase was standing horizontal the wheels were barely engaged but provided stability. But when you lift up the Orucase on the front strap, it would rest completely on the wheels. The case now rolled like a carry-on, even better as the skateboard wheels roll very easy and are very sturdy.
I finished the project by painting the outside board and the bolts black so it looks very integrated. Hopefully the paint will ensure that the nuts will not loosen themselves.
I am now on my first trip testing out the wheels. So far so good the case rolls very easily, and as I had expected having the bike in the bike stretches all the sturdy fabric so it does not touch the ground. The case can now stand by itself where before it typically fell over without support. The case is a little wobbly (these are skateboards wheels after all) But it is now so much easier to bring it along over longer distances.
— Henry van den Broek (@hbroek13) November 18, 2021